Responsive Ads Here

Sunday, December 7, 2014

Enforce Drag and Drop documents to apply metadata

A useful new feature in SharePoint 2013 is the ability to drag and drop files in to document libraries using browser. This feature is particularly useful for adding multiple documents to the library, to achieve the same functionality in previous versions of SharePoint we need to open the document library in explorer view but explorer view is not a best practice. So drag and drop feature is very useful. Find the below screen shots for the same.


To have the drag and drop feature to SharePoint 2013, here are the scenario or requirements of web browsers.
  • Internet Explorer 10
  • Internet Explorer 9 with Office 2013 Installed
  • Internet Explorer 8 with Office 2013 Installed
  • Firefox latest version
  • Chrome latest version
When we are drag and drop documents in to document library it will not prompt for the metadata which is required. but the document which is uploaded in library will be checked out. In my recent project i have a requirement it should prompt for metadata for single or multiple documents.

I have found a nice article which has full filled my requirement. Please go through the below URL which will give complete idea.

http://sharepoint.findincity.net/view/635399286724222582138466/enforce-drag-and-drop-documents-to-apply-metadata



Tuesday, December 2, 2014

CAML Query Joins and Projections

In SQL Joins are used to get the data of two or more tables based upon a relationship.Using Joins, we can combine two or more tables and gather data with a single query.

Similarly in SharePoint we have a good feature  to get the data from one or more tables using Joins by Caml query. But there is no way to write Joins using Caml designer. 

I have found a nice tool to write Joins using Caml query in CodePlex.  CamlJs (SharePoint JavaScript Caml Builder) simplifies creation of SharePoint Caml queries using client-side scripts which can be used with either SharePoint Client Object Model or Sp-services.

We can checkout the features of CamlJs documentation and usage by clicking here CamlJs.

we have two flavors of CamlJs.One is CamlJs Console and another one is extension which is available in Chrome web store.  Using this extension we can check join condition in browser it self ( please find the below screenshot). But it works only in Google chrome.


Sp-query has two properties to get the data from two or more tables based on a relationship. 

  • Joins : Used to join the lists based on relationship.
  • Projected Fields :  Specifies the fields in joined lists that can be included in the view.  
Please find the complete documentation by visiting this blog post.  Joins have some limitations 

1. Data Table is not supported when we use joins.
2. Multiple Lines of text, Choice type columns are not supported in the Projected fields.

We have discussed how to write Joins on SharePoint List using different tools. Stay tuned for this post how to use this query both in server side and client object model.


Wednesday, November 12, 2014

How to programmatically set a content type as default content type in a SharePoint 2013 List


In my recent project i have a requirement to change the order of content type of list programmatically.

 I have an announcement list which has default content type announcements,I want to add my custom content type to that list and i need to change the order of content type i.e when we are adding a new item to the list,my custom content type columns should come.

Use the below code snippet to change to set your custom content type as default content type by using server and client object model. 

Using Server Object Model :-- 

Code: 
 
private void SetDefaultContentType(SPList list, string ContentTypeName)
{
    try
    {
        IList cTypes = new List();
        SPFolder root = list.RootFolder;
        cTypes = root.ContentTypeOrder;
        SPContentType cType = cTypes.SingleOrDefault(hd => hd.Name == ContentTypeName);
        int j = cTypes.IndexOf(cType);
        cTypes.RemoveAt(j);
        cTypes.Insert(0, cType);
        root.UniqueContentTypeOrder = cTypes;
        root.Update();
    }
    catch (Exception)
    {
       throw;
    }
}

Usage :-- 

 
using (SPSite site = new SPSite("[Server URL]"))
 {
     using (SPWeb web = site.OpenWeb())
     {
         SPList list = web.Lists["Your List Name"];
         SetDefaultContentType(list, "Your Content Type Name");
  
     }
 }

Using Client Object Model :-- 

 
public static void SetDefaultContentType(ClientContext clientContext, string ContentTypeName)
        {
            try
            {
                List list = clientContext.Web.Lists.GetByTitle("Announcements");
                if (list != null)
                {
                    ContentTypeCollection listContentTypes = list.ContentTypes;
                    //clientContext.Load(listContentTypes, listCTs => listCTs.Include(ls => ls.Name).Where(ls => ls.Name == ContentTypeName));
                    clientContext.Load(listContentTypes);
                    clientContext.ExecuteQuery();
                    if (listContentTypes.Count != 0)
                    {
                        IList cTypes = new List();
                        foreach (ContentType ct in listContentTypes)
                        {
                            if (ct.Name != "Folder")
                            {
                                if (ct.Name == ContentTypeName)
                                {                                   
                                    cTypes.Insert(0, ct.Id);
                                }

                                else
                                {
                                    cTypes.Add(ct.Id);
                                }
                            }
                        }

                        list.RootFolder.UniqueContentTypeOrder = cTypes;
                        list.RootFolder.Update();
                        list.Update();
                        clientContext.ExecuteQuery();
                    }
                }
            }
            catch (Exception)
            {
                throw;
            }
        }

Tuesday, November 11, 2014

Code Samples – SharePoint 2013 .Net Client Side Object Model

In SharePoint 2013, all the people are using CSOM only. I found a nice PDF which contains all the basic operations.
SharePoint Developers who have some basic knowledge about SharePoint 2010 or 2013 will find this book helpful for understanding and working with the .Net Client Side Object Model. This book is mainly focused on beginner functionality and code samples to perform basic operations using the .Net Client Side Object Model.
We can download the PDF by clicking here.

Download File For Code Samples

Thursday, November 6, 2014

Tools for your SharePoint 2013 development toolbox

In SharePoint 2013, we have so many tools are available to make developer life easily. I have heard some the tool names and some of tool names from colleagues.

Recently i have used SharePoint manager and SharePoint 2013 Search tool which made my life easier. I want to list down all the tools available and how it useful in our daily life. But i did not get a chance to work on that.

Today i found out one post which has all the details about the tools for SharePoint 2013 and documentation also.

Please go through the below link for complete details. I am sure definitely these tools will made our life easier.

http://zimmergren.net/technical/tools-for-your-sharepoint-2013-development-toolbox

I hope this post will be useful..

Monday, November 3, 2014

How to publish provider hosted app in SharePoint online


In SharePoint 2013, Microsoft has introduced apps. we have three types of methodologies to host the apps in SharePoint.

SharePoint hosted app:

This type of App lives inside SharePoint. There is not code running on the server. All code must run in the client. This will have .aspx page but lots of JavaScript code that will implement the logic via client side script and service calls.

Provider-hosted apps comes under cloud hosted app. These apps hosted outside of SharePoint server. Since its hosted outside of SharePoint server you have the freedom to develop an app using any language like PHP, Java or .Net. You can write server side code here which will communicate with SharePoint server. Here it will use OAuth protocol for authentication mechanism.

Provided hosted app enables developer to define its own infrastructure which may be a dedicated server or may be a cloud server provided by providers like Amazon.
As we know provider hosted app we can deploy both in on premises and SharePoint online. Let us discuss how to deploy the app in SharePoint online. in my next post we will discuss how to host the app in on premises.

When we are creating provider hosted app in VS, it will create two projects app and appweb. Before starting creation of provider hosted app we need to have SharePoint Online and Windows azure account.

In my SharePoint online site, I have created one site collection with developer site template.

1.       Create a new project in VS with the template App for SharePoint, give the name of the project and click on OK. In this screenshot I am creating a project with the name SampleProviderhostedapp.

App For SharePoint

2. Click on OK it will prompt for the site name where you want to debug the provider hosted app. I have given my SharePoint online developer site name and selected the provider hosted app in the section how do you want the host the app.


3.     3. Click on next we will get the window which will ask which type of project you want to create. We can create the project in Asp.Net Web forms application or ASP.Net MVC application. I am going with the option ASP.Net Web forms application.

Web Project Selection

3.     4.Click on Next we will get a window to where we can configure the authentication settings, I am going with the option with windows Azure Control service and click on Finish.

Authentication Settings

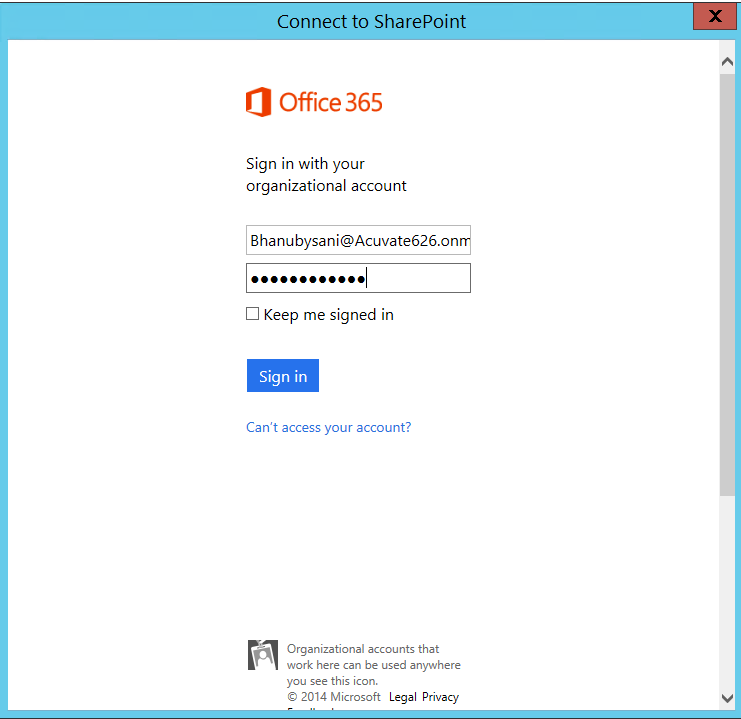
3.     Click on finish, a project will be created and it will prompt for the SharePoint Online Credentials to connect with SharePoint Online.

Online Credentials


3.     Enter the credentials and click on Sign in button, we will find the project will be created with 2 solutions one is App and another one is APPWeb. See the below screen shot.
Solution view

   App Project will contain only app manifest XML which will be useful for configuration the app like default page and version of the app.


Right Click on App web project and click on Publish it will open the window to select the publish target. 
Publish Web

3.     I want to publish to the APPWeb in windows Azure, so we need to create a site in windows azure account. I have created with the site name as Bhanu test.

Azure site

3.     We need to download the publish profile in windows azure to publish the appweb to Windows azure. For this click on the site BhanuTest (site name) where I want to publish. Once click on the site you will navigate to the below page.

Azure Site Creation

Click on the Download the Publish Profile which is in the Publish your app section. Once click on the link a file will be downloaded.


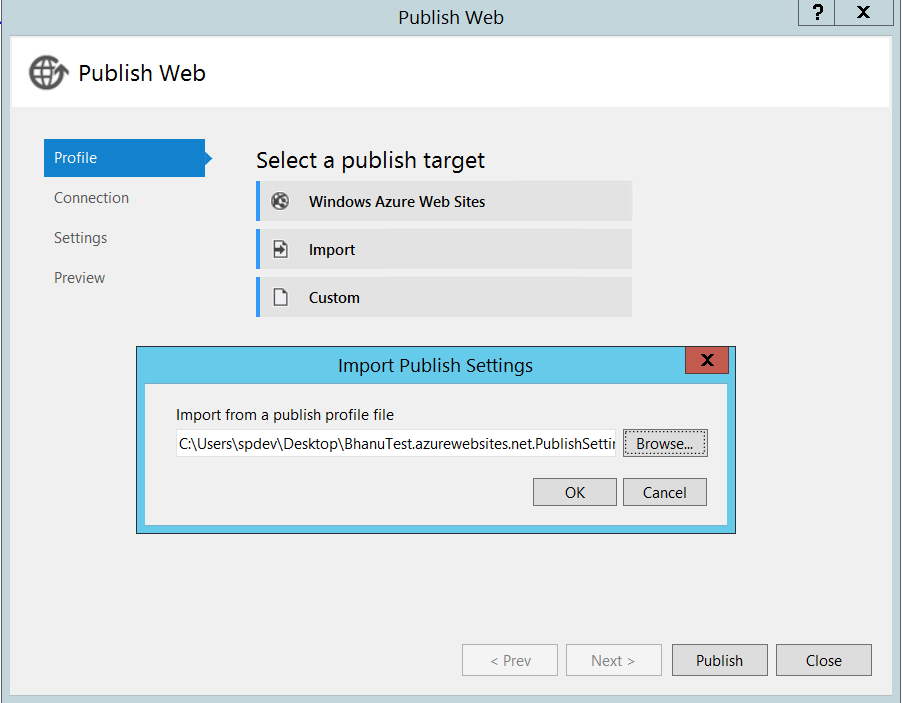
Now go to the VS in Publish Target window click on Import it will prompt the window, where we can browse the profile which we have downloaded from Windows Azure site.

Publishing Web

Click on Ok. It will navigate you to the connection tab.

Publish web-1

Click on Validate Connection it will validated the connection, Once validation completes you will get the green symbol beside the validate connection button.


Publish Web1

Click on Next It will navigate you to the Settings tab where we can select the configuration. I am selecting the debug in the dropdown. 

Debug Mode

Click On next and Click on Start Preview it will show the files and click on publish.


Preview Selection

After Publishing it will navigate to the success page like below screen shot.


Site Creation
 
Now go to VS solution explorer you will find out the Publish Profiles folder which will contains the profile which we have downloaded from the Azure Site.

Solution Property

Now go to the Developer site and browse the appregnew.aspx page which will be available in the page layouts.


In this page we can create client id and client secret id. These id we can use in our APPweb and APP solutions. Client Id is bridge between the two solutions.


So browse the page and fill the information and click on create button.

App Reg page
Generate the Client Id, Client Secret Id. Give the Title for the app whatever you want.


App Domain and Redirect URI we need to give the windows azure site name. Redirect URI will allow only the https. Once fill the information click on create button app identifier will be created and you will be navigated to the below page.


App Identifier
 Now go to the Web.config file which is in the APPweb solution. Update the Client Id and Client secret id and publish the solution.

App Manifest

   Right Click on the APP solution and click on publish you will navigate to the      below page.

App Publishing
 
 Click on Deploy your web Project. It will prompt a window like below.

App Publishing -1

App Package

 Click on Publish. After that you need to package the app to upload the app in to site for click on the Package the APP which will be available in the publish your app page.


When you click on the Package the app, it will prompt the window like below.

Packaging App

 We need to enter the Client Id and update the site URL. Normally it will show    the URL without https so we need to update with https and click on Finish.
Now it will open the window which will contain the app file.  Now browse your SharePoint Developer site and upload this app in to apps testing.

Apps in testing

  Click On new app to deploy, It will open the below window.

Upload app selection

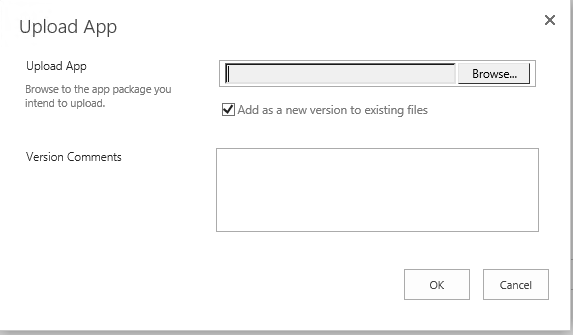
    Click on Upload hyperlink, once click on that it will open another window where    we can browse your app file.


Upload app selection-1


  Click on browse button and browse your app project, navigate to binà Debug     Ã  app.publish à go to version folder à select the app file and click on Ok.


Deploy App

It will show the above window which will be stated as your app has been     successfully uploaded. It’s time to deploy your App. Click on Deploy button. It will open the below wind and click on trust it.

Trusting App

Click on trust it button app will be installed. Now you can browse the app by accessing the site contents. 


Friday, October 31, 2014

How to use IN operator in CAML Query


IN operator allows us to specify multiple values in where clause.deactivation. Generally we will use IN operator in SQL.  

In CAML query also we can use IN operator.  In my recent project i have a requirement to get the announcements present in the announcements list. Here the condition is only i need to get the id with 1,2. So we can use IN query in this scenario. Because we need to specify multiple values in where clause.
Let us see how to use the same both in .Net CSOM and Server object model.
code snippet for CSOM:--

ClientContext clientContext = new ClientContext("your site"); 
Microsoft.SharePoint.Client.List spList = clientContext.Web.Lists.GetByTitle("Announcements"); 
clientContext.Load(spList); 
clientContext.ExecuteQuery(); 

if (spList != null && spList.ItemCount > 0) 
{
   Microsoft.SharePoint.Client.CamlQuery camlQuery = new CamlQuery(); 
   camlQuery.ViewXml = 
      @"  
             
               12 
             
              
      ";  

   ListItemCollection listItems = spList.GetItems(camlQuery); 
   clientContext.Load(listItems); 
   clientContext.ExecuteQuery(); 
}
   
Code snippet for Server object model
SPList spList = spWeb.Lists.TryGetList("Announcements"); 
if (spList != null) 
{ 
   SPQuery qry = new SPQuery(); 
   qry.Query =  @"


            1
            2
         
      
   "; 
   qry.ViewFields = @""; 
   SPListItemCollection listItems = spList.GetItems(qry); 
}